


Oh, Throwback Thursday. You’re my perfect excuse for procrastinating posting recipes for delicious treats I made months ago but didn’t share with the world yet. Today, I’m throwing it back to ice cream.
The great thing about ice cream makers is how ridiculously easy they are to use. As long as you actually let the bowl stay in the freezer long enough to freeze properly you’re golden. And if you don’t, you’re having milkshakes.
I got an ice cream maker this Fall, and after making a few basic ice creams I wanted to try something a little fancier. I came up with a shortlist of possible flavours, but as I’ve previously confessed, the last couple of years have seen me morph into a pumpkin addict so it wasn’t really a contest. I just want to put pumpkin in all of the foods. And drinks. And then more foods.

I feel sort of guilty posting this as part of my Throwback Thursday Series of long-lost-and-almost-forgotten-blog posts since you can’t get your hands on any local pie pumpkins right now, but if you’re really hard up you could pick up some pumpkin puree at the grocery store although it won’t be nearly as awesome. Or if you’re me, you have some pumpkin puree safely tucked in the freezer for your out of season food craving needs and you can whip up a batch right now. Jealous? Sorry, not sorry.
Speaking of which, I think I’d better go put the bowl in the freezer for tomorrow…
Throwback Thursday: Pumpkin Ice Cream
Ever so slightly adjusted from the recipe booklet that came with my Cuisinart Ice Cream Maker. You can also find it here.
1 ½ C Scotsburn Homogenized Milk
2 ½ C Scotsburn Whipping Cream
1 C brown sugar
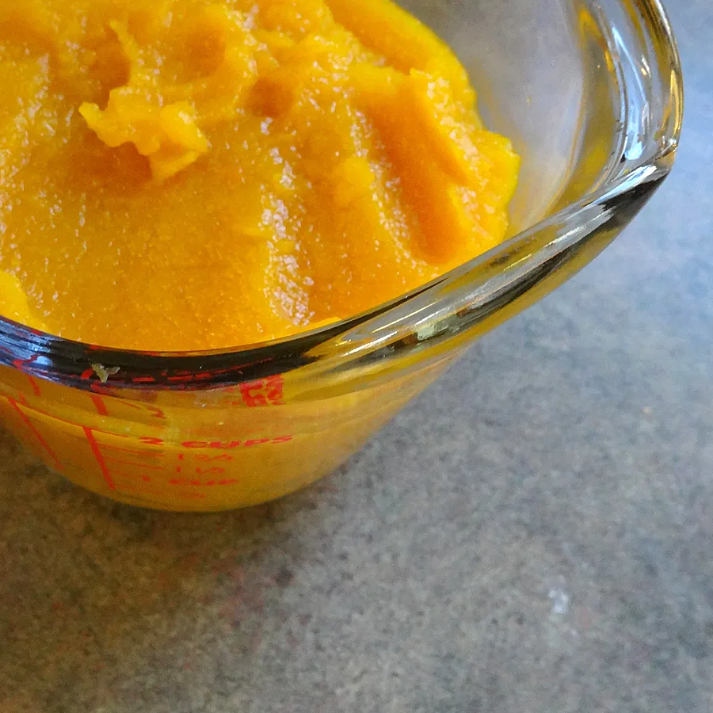
2 C local pie pumpkin puree
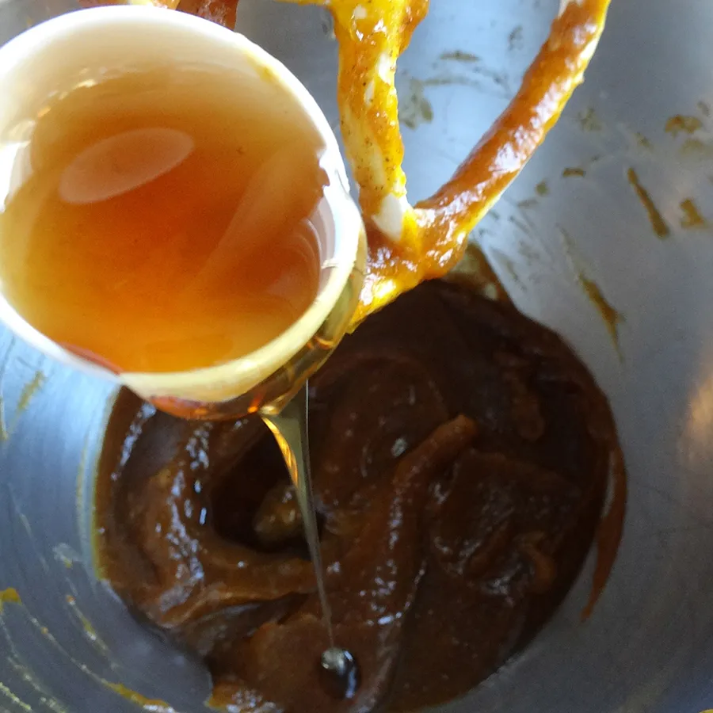
2 tbs Haveracres Pure Maple Syrup
1 ½ tsp cinnamon
1 tsp ginger
¼ tsp nutmeg
1 tsp vanilla extract
To get this party started, you’re going to need to puree a pumpkin. Hopefully you saved some when you pureed a foolish number of pumpkins in the fall to make these muffins. And this pie.
Next, measure out your assortment of delightful spices.
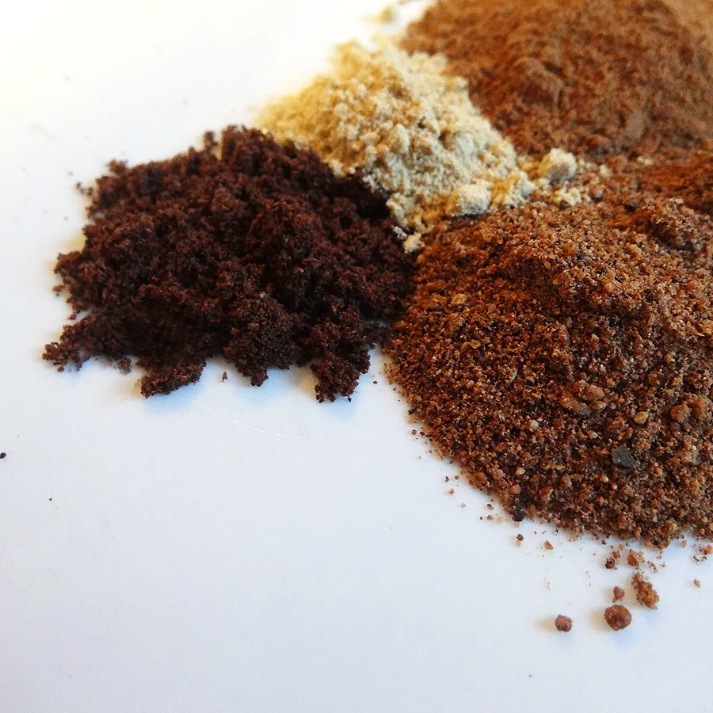
Hello, lovelies.
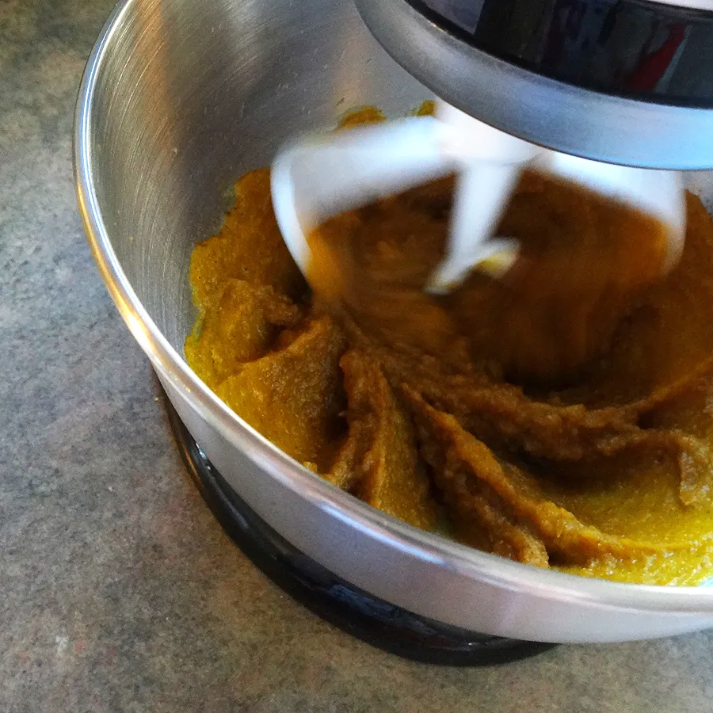
Toss your puree, sugar, spices and all things nice(s?)… I mean, vanilla into the mixer, and mix’em.
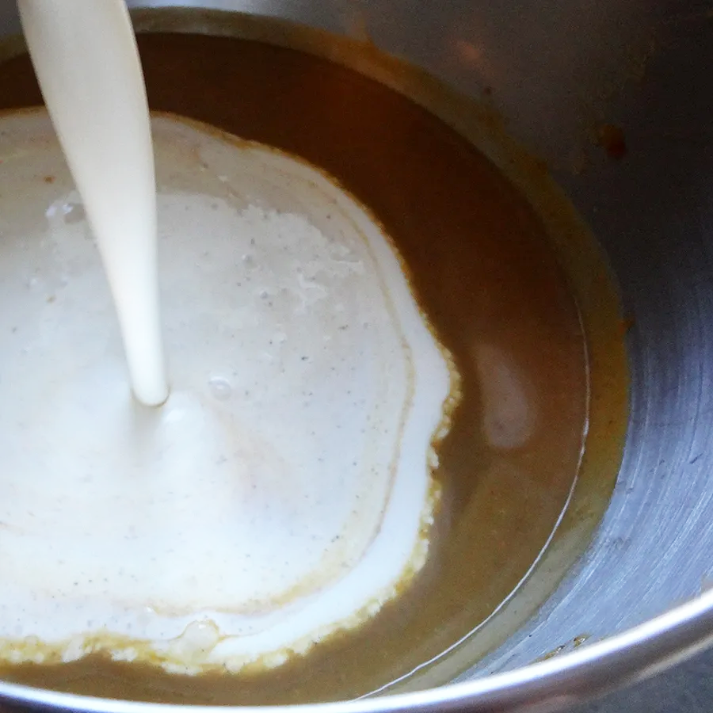
Add your local pure maple syrup
and your milk
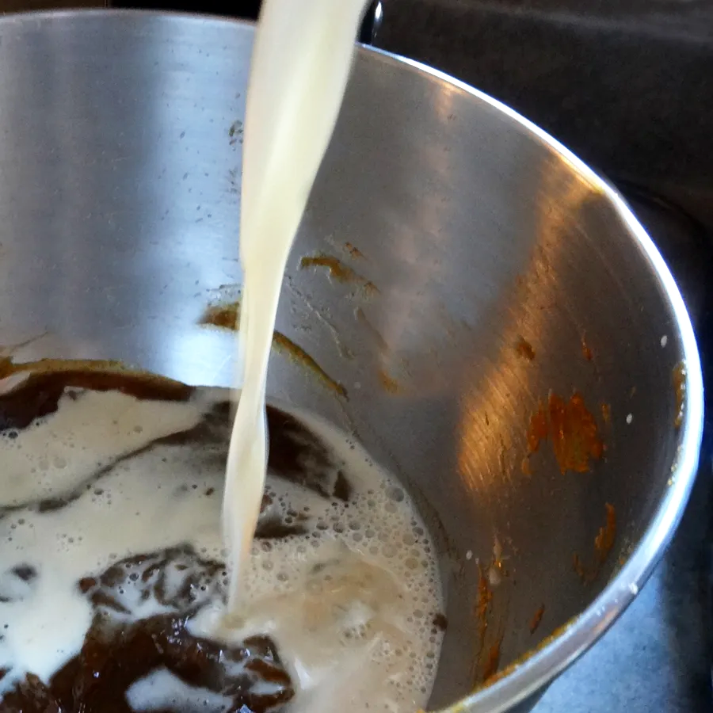
and mix.
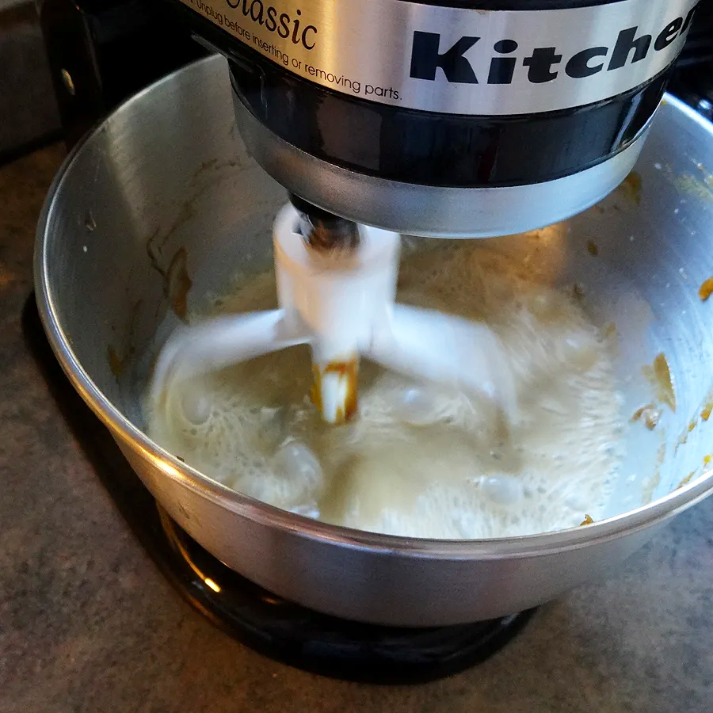
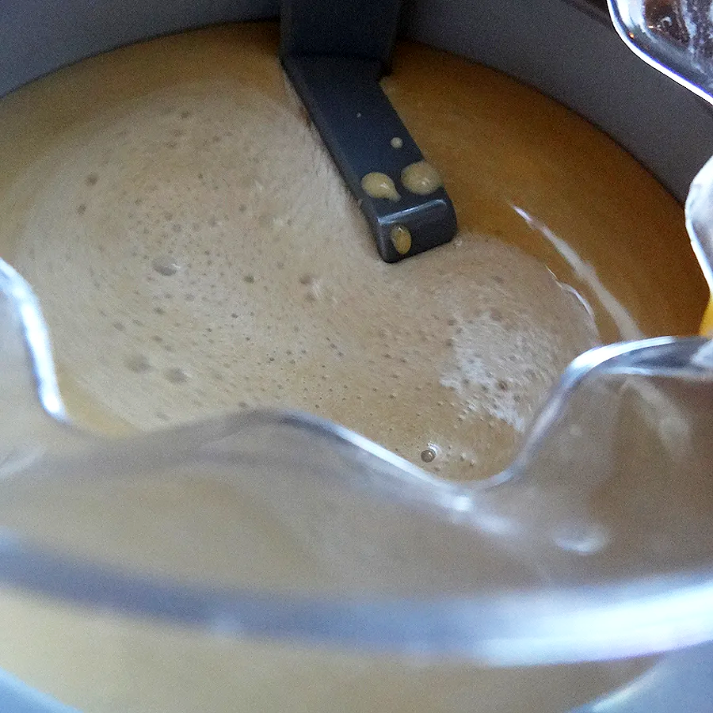
Now pour in the whipping cream
and guess what?
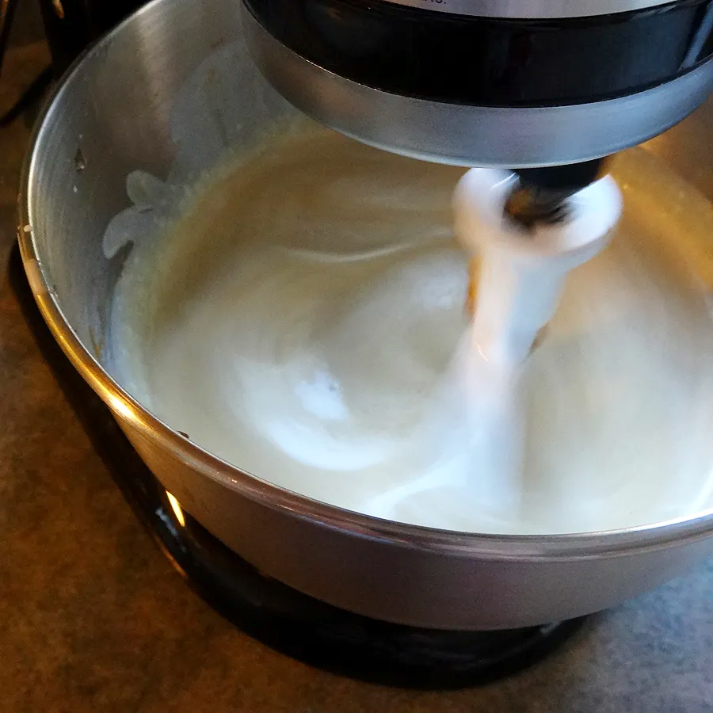
MIX IT.
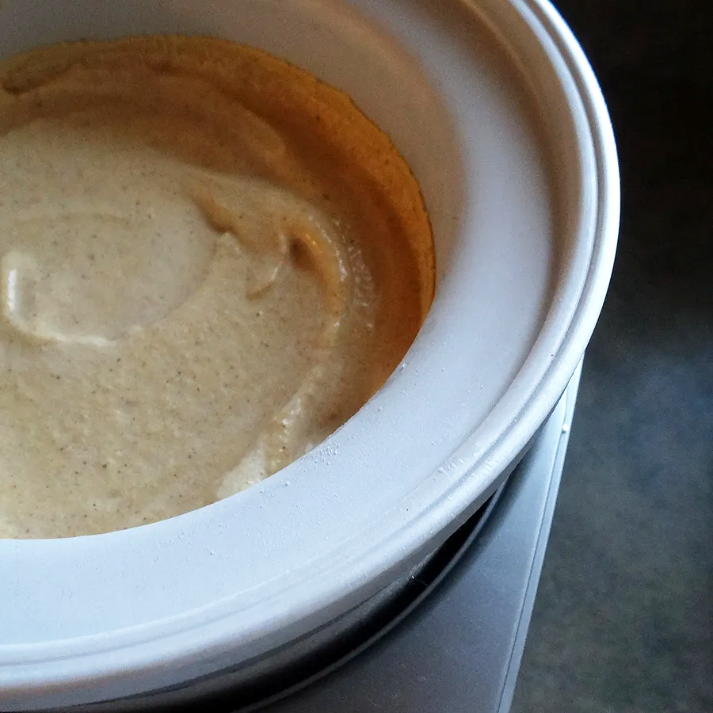
The only thing remotely tricky about making homemade ice cream is this next part: the bowl needs to be frozen. Completely. For reals. If you shake it and you hear any liquid, it is not ready. Just pop that sucker back in the freezer and check back in a few hours.
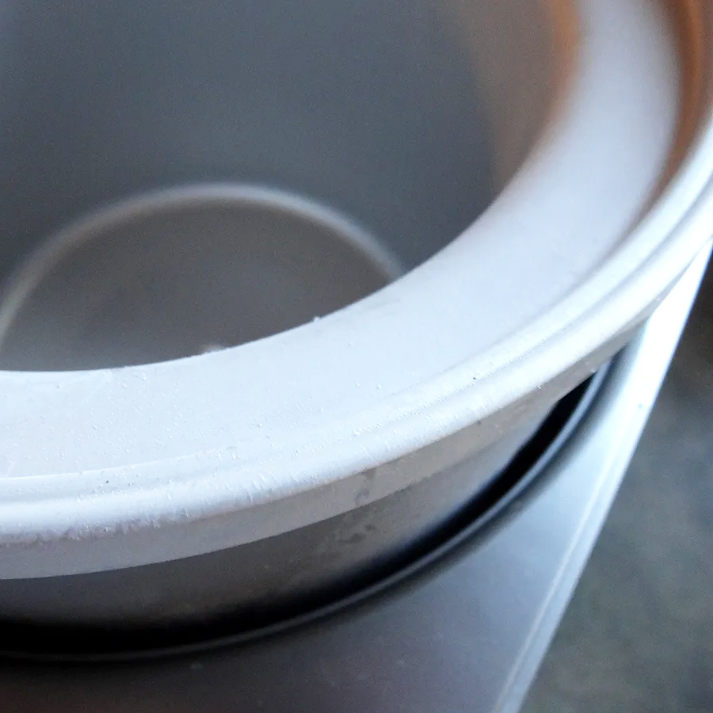
It’s kind of hard to tell, but I promise that bowl is frozen.
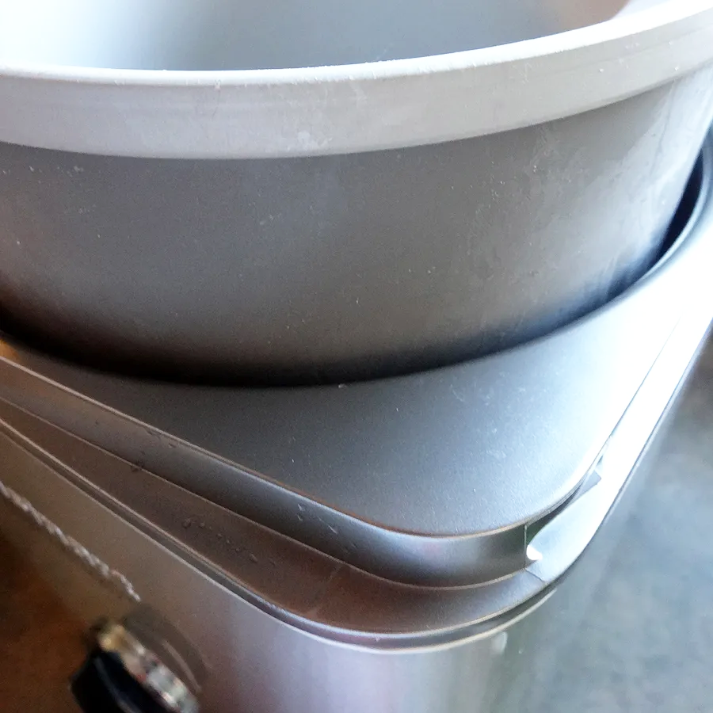
Put the frozen bowl into the machine. Then put the paddle into the bowl. Then put the cover onto the paddle and bowl. Then pour the mixture into the bowl.
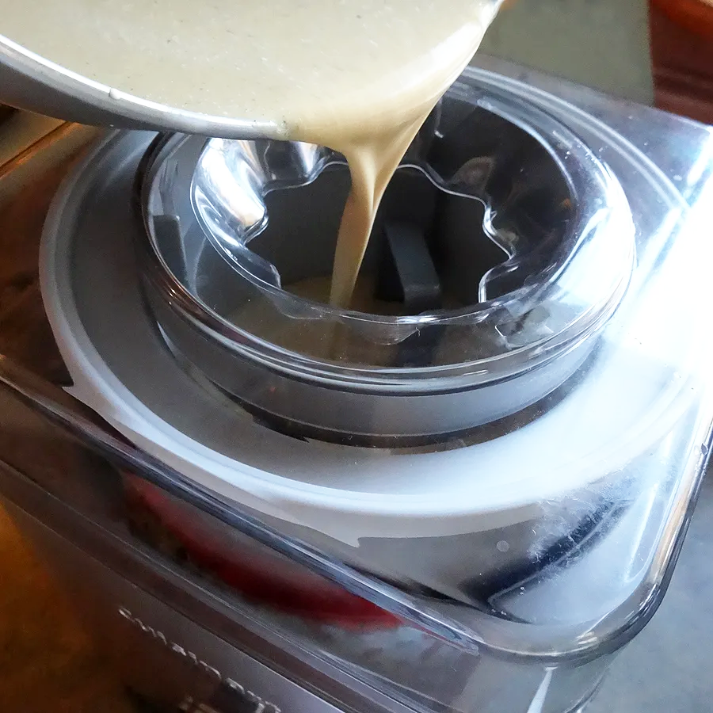
Phew, that was complicated.
Press the on button, and set a timer for 30 minutes.
Remember when I said making ice cream was ridiculously easy? Well, I think this just proved it. Once the timer goes off, you’re good to go.
Seriously. That’s it.
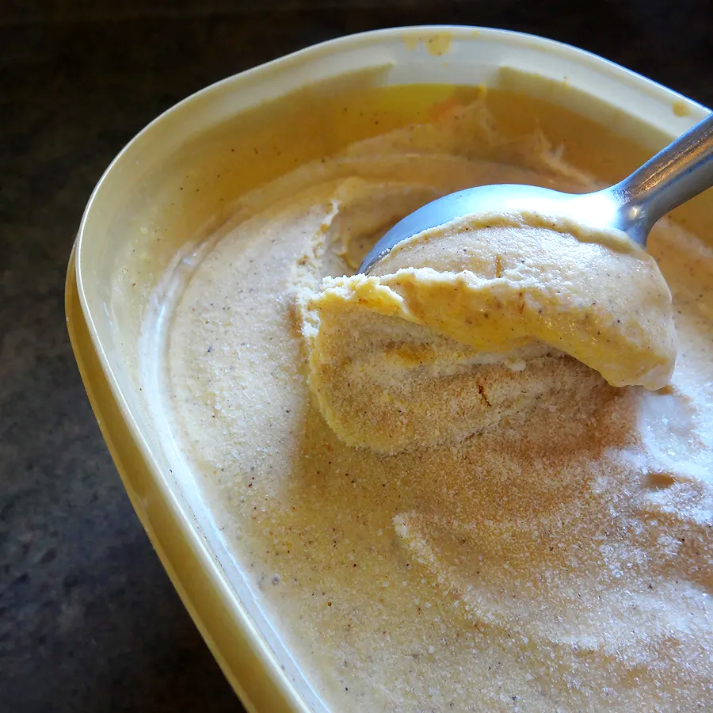
Well, if you want a firmer consistency, you can scoop it out into an appropriate container and put it in the freezer for a bit.

Yeah that’s right. I re-use store bought ice cream containers for my ice cream. Don’t try to act like that’s not the most obviously brilliant option. And don’t try to act like you don’t have a cupboard full of shame empty ice cream containers in your house.
Once your ice cream reaches the desired consistency, dig in.
After all that hard work, you really deserve a bowl of ice cream. Or two. Maybe a waffle cone as well.
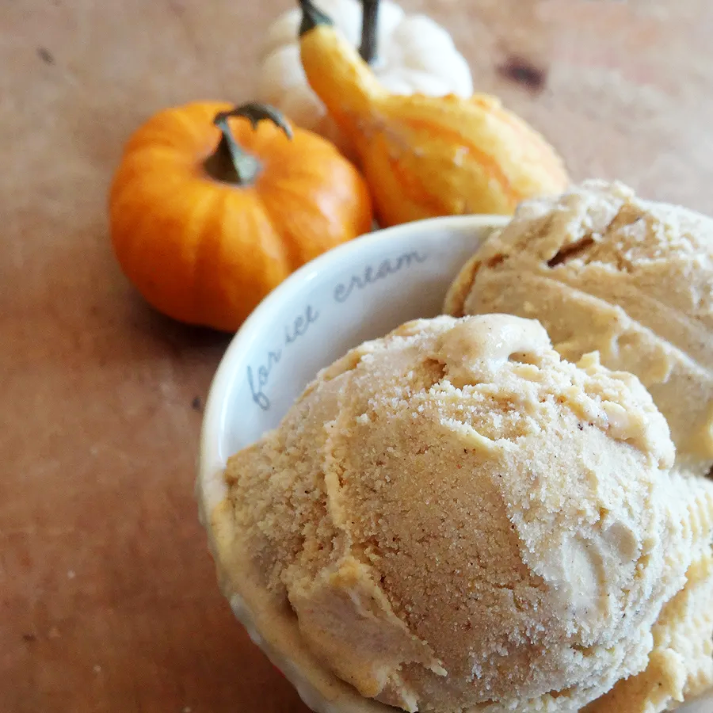
Awww yeah.

