


Let’s just put it out in the open: I am all about the sea salt caramel flavour combo right now. I know there are a couple of you out there making faces, feeling all uncomfortable at the thought of putting salt on your dessert but I tells ya, it’s good. Real good.
If you haven’t tried it, I suggest you back away slowly from the computer and run to the grocery store and pick up a little something – maybe a chocolate bar, maybe some ice cream, anything as long as it features my new favourite flavour. Then once you inevitably fall in love with it, come back and try out this recipe. You know you want to.
For the last month or so I really wanted to come up with some type of sea salt caramel post. Surely you must be able to get local sea salt, I thought. I mean geez, we live next to the sea! I asked around with no luck, and tried to forget about it. Unfortunately, since most of my day dreams (and regular dreams) revolve around food I couldn’t get it out of my head. I needed to find local sea salt. I couldn’t lose hope… it just had to be out there! Waiting for me. Somewhere…
You can only imagine my excitement when on a recent trip to Halifax I took a leisurely stroll into Local Source Market… and there it was: Black Whale Atlantic Sea Salt.
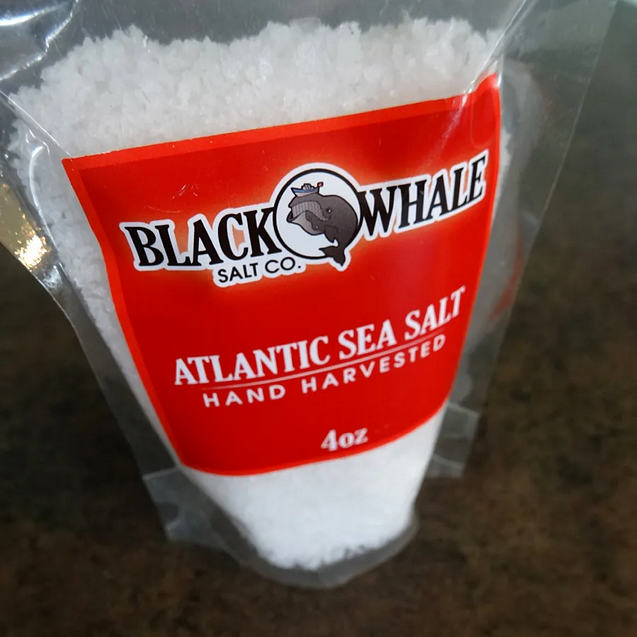
I may or may not have gasped with excitement. But do you blame me? Check this beauty out:
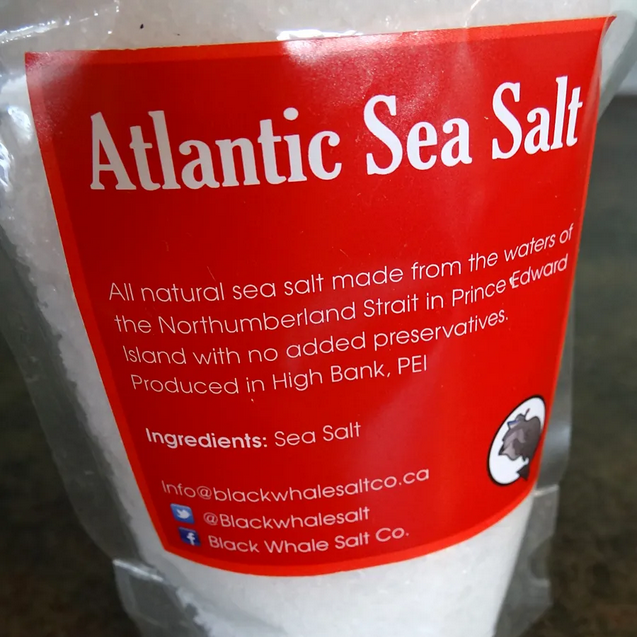
That’s right folks, sea salt. From PEI. My dreams are coming true! Maybe I should dream about winning the lottery instead of food. Nah, I’m sticking to food.
With my dream-salt secured, it was only a matter of time before I got a recipe together. I highly recommend you try it out.
*Side note: as a child, cinnamon buns were probably my favourite baked good. And by probably, I mean definitely, and by cinnamon buns I mean my Aunt Darlene’s cinnamon buns. Nothing else compares. For serious. Maybe if we’re all lucky I will share her recipe with you some day, but if I start making them I may never be able to stop eating them, resulting in a vicious (and delicious) cycle of non-stop-baking-and-eating that would leave no time for blogging. We’ll see.
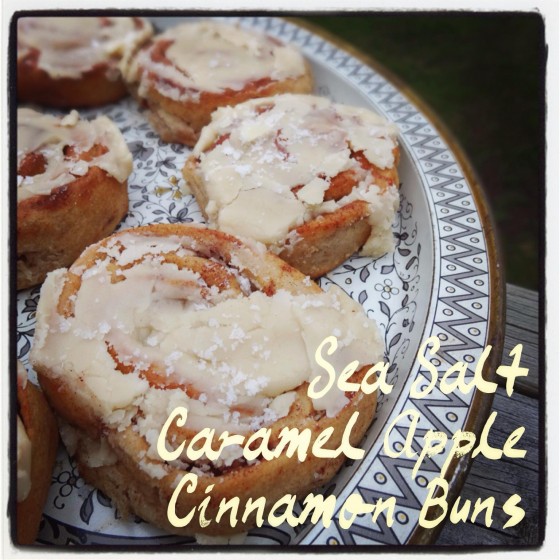
Sea Salt Caramel Apple Cinnamon Buns
For the buns
2 packs active dry yeast
¼ C hot water
1 ½ C buttermilk
½ C Olive oil
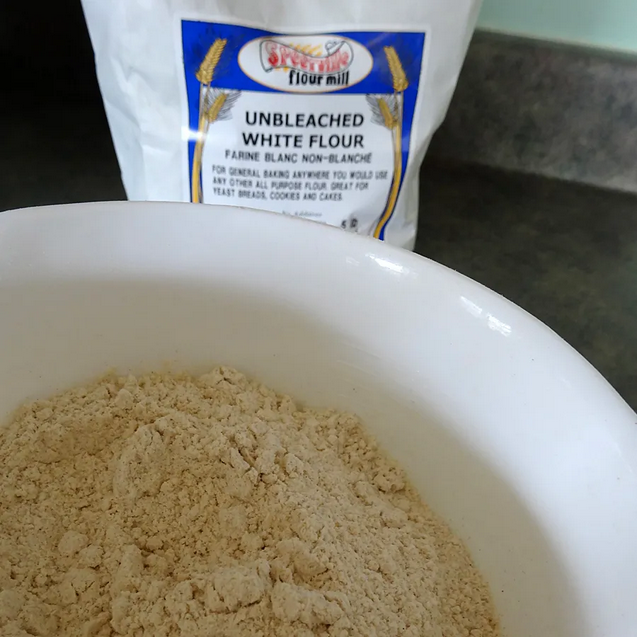
4 ½ C Speerville Unbleached White Flour
1 tsp salt (you can use the sea salt here if you want, but I am rationing mine for my caramel addiction)
½ tsp baking soda
For the filling
4 local apples (I used Luckett Orchard Honeycrisps from Pete’s)
3 Tbs Scotsburn butter
½ C brown sugar
1 ½ tsp cinnamon
For the icing
(from The Pioneer Woman’s Caramel Apple Sweet Rolls. I liked her icing the best, but worked with a different base recipe for the buns and filling.)
½ C Scotsburn butter
1 C brown sugar
½ C Scotsburn Whipping Cream
2-4 C icing sugar
¼ tsp Black Whale Atlantic Sea Salt
For the topping
To taste Black Whale Atlantic Sea Salt for sprinkling on freshly iced cinnamons
And yes, I did feel like sprinkling sea salt on the top deserved its own category for this recipe.
We’ll get things started with some nice local apples.
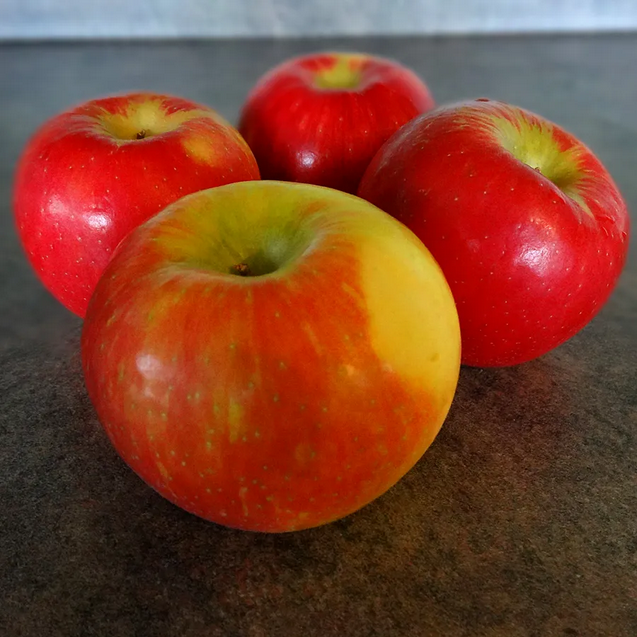
That’s right, you can still find local apples in lots of places this time of year. Sure, they may not be as big and beautiful as they are in the Fall, but they’re still pretty tasty. Especially in these cinnamon buns. Trust me.
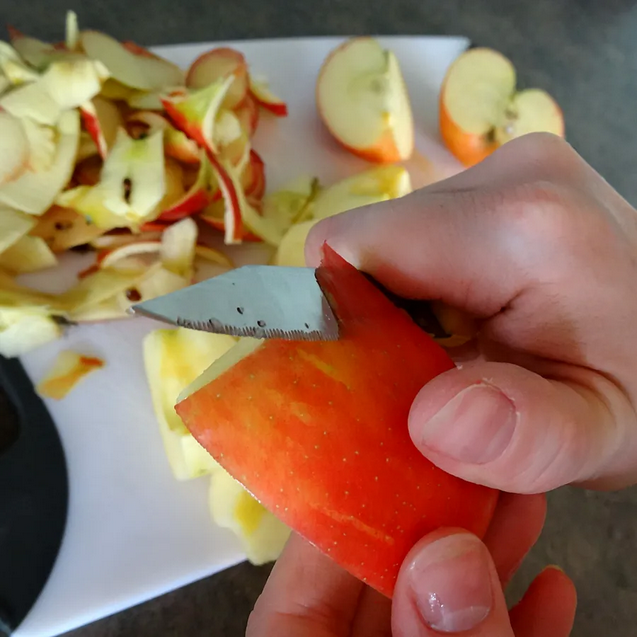
Start by peeling the apples
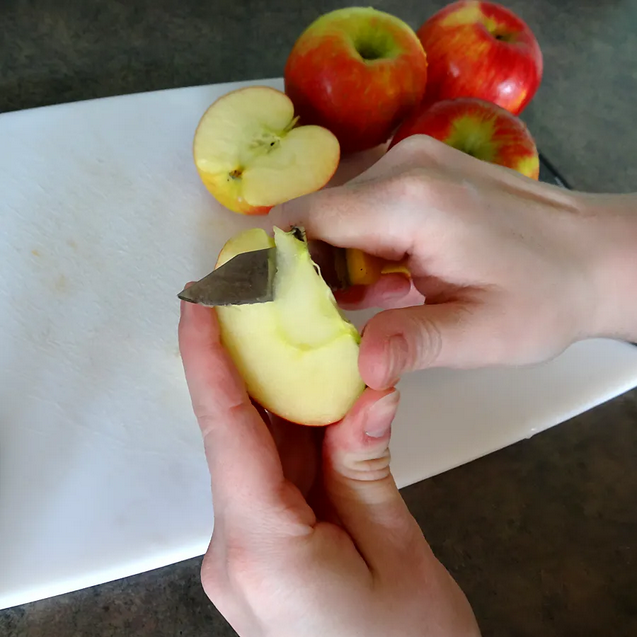
and coring them
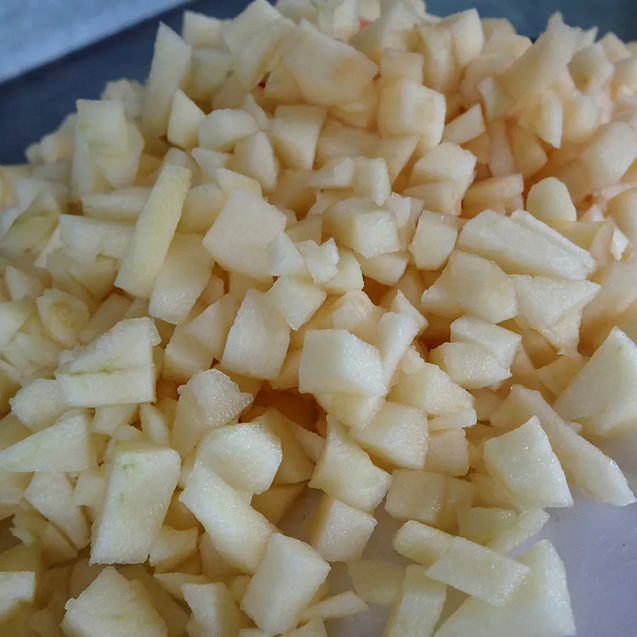
and dicing them up into tiny cubes.
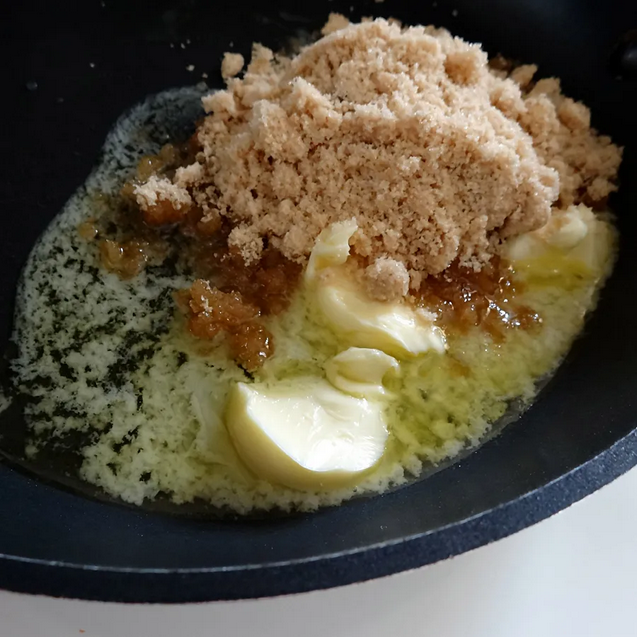
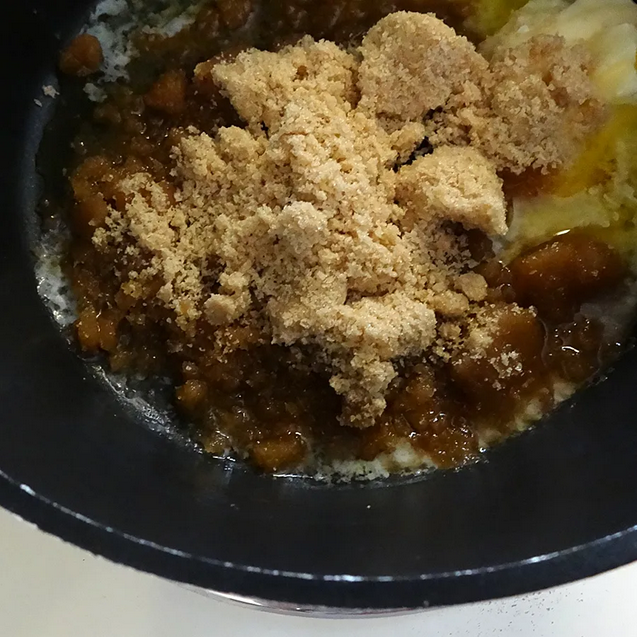
Next, you’ll need to make your caramel coating for the filling. Toss the brown sugar and butter in a pan and heat it up over low-medium until it melts.
Then add the tiny apple cubes and sprinkle on the cinnamon
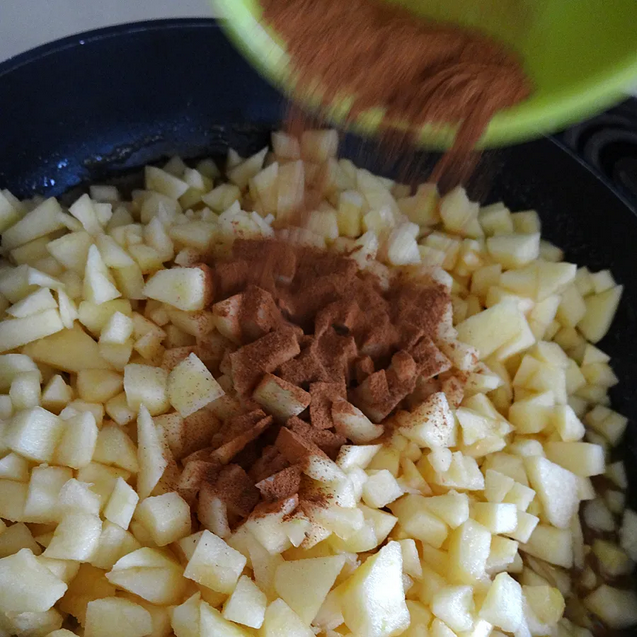
and then stir it all up real good until all the cubes are equally coated with deliciousness.
At this point I should probably remind you that this mixture is heating up, so if you are going to sneak a few spoonfuls please be careful not to burn yourself. For serious.
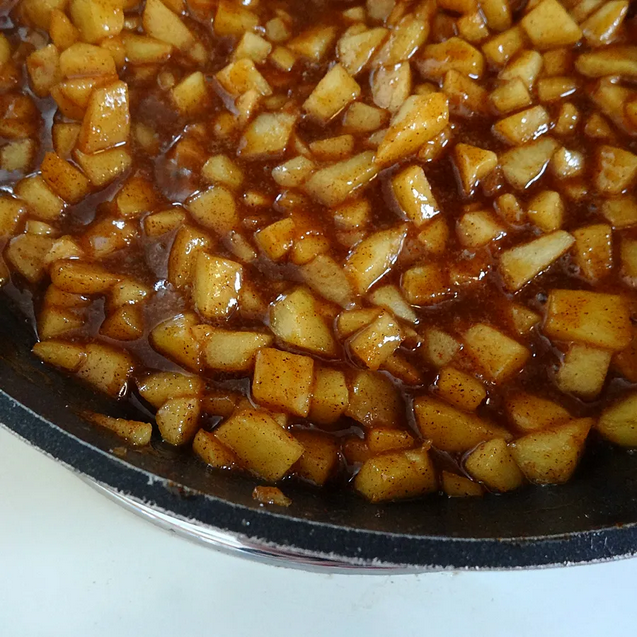
If you’re able to resist eating it all, let the filling heat up until the sauce thickens up. It should look something like this when it’s good to go.
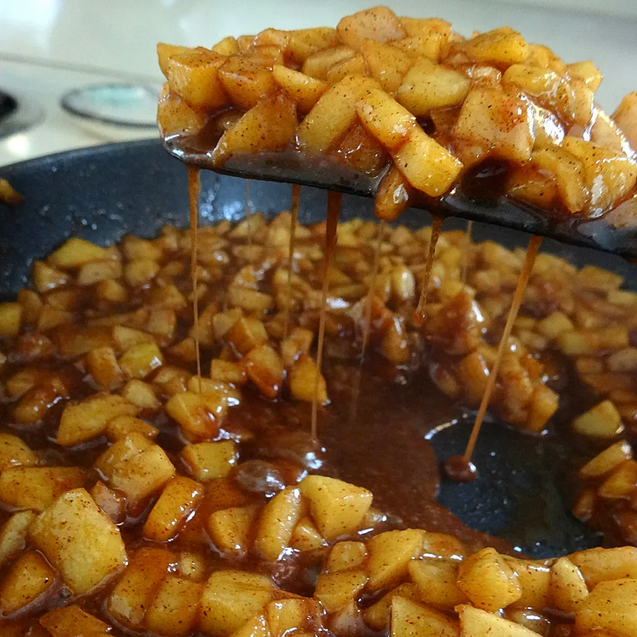
Remove the pans of delicious apple cubes from the stove and let it cool.
If you are as forgetful as I am and don’t have any buttermilk in your house, this is the perfect time to use this simple buttermilk substitute from Joy The Baker
It’s super easy. To make 1 C of buttermilk substitute all you need is a measuring cup and some milk
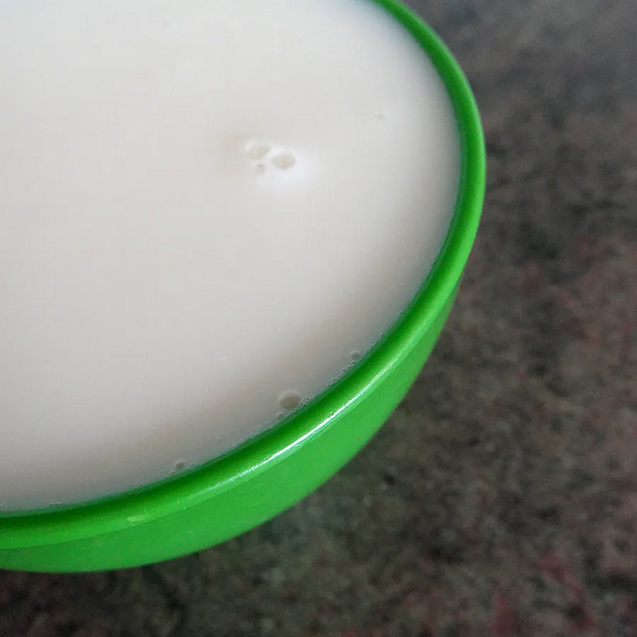
and a lemon
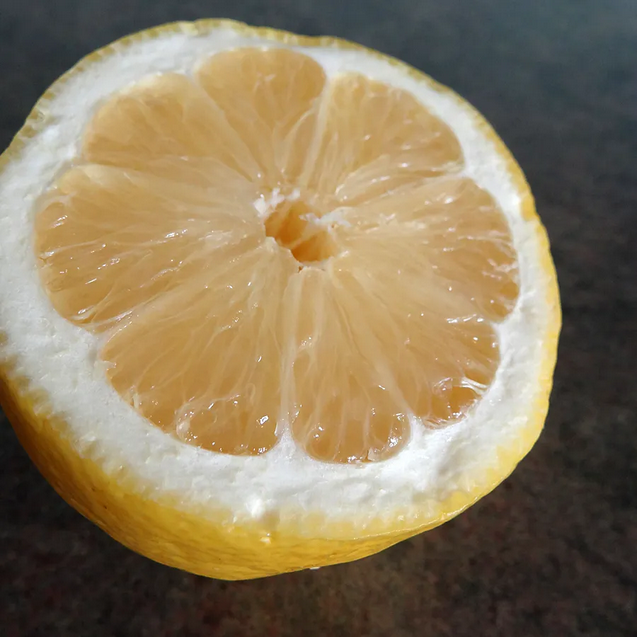
Just squeeze 1 Tbs of lemon juice into your measuring cup then fill it to 1 C with milk. Let it sit for a few minutes and you’re good to go.
While your buttermilk substitute is transforming itself, you can go right ahead and sprinkle the yeast over the warm water in a nice big bowl.

This needs some time to sit and rise as well, but luckily your milk and lemon juice combo has likely transformed into its new beautiful buttermilk self now and you can move on to the next few steps.
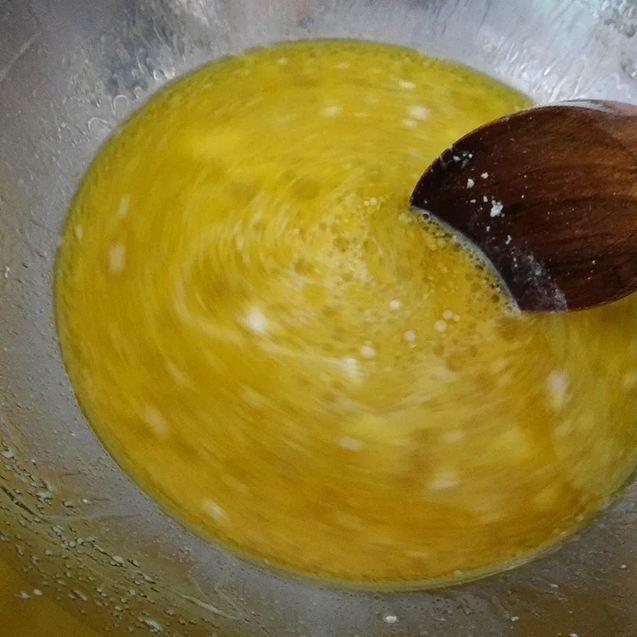
Heat up the buttermilk just enough so that it’s warm to the touch. While this is happening, blend your flour, salt and baking soda together.
Don’t forget to keep an eye on that buttermilk though. Hopefully it’s warm by now, and hopefully 10 minutes has passed. If yes, then pour the warm buttermilk in with the now-risen-yeast-mixture, followed by the olive oil.
Stir.
Slowly add the flour mixture stirring in between each addition
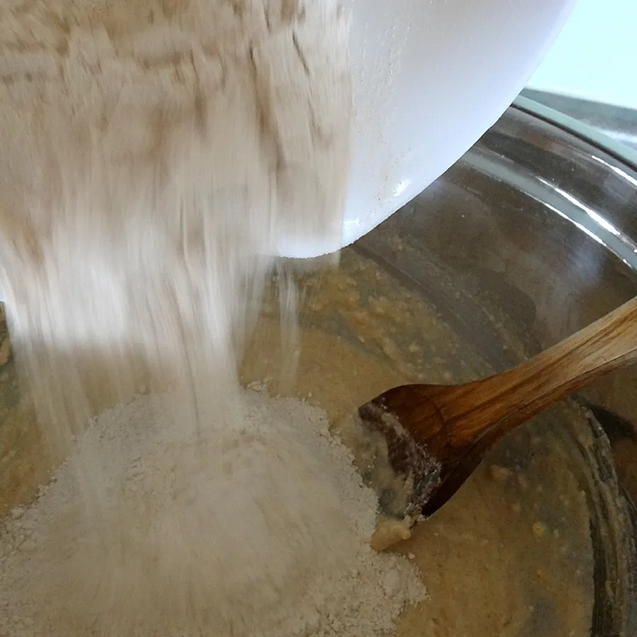
until you reach dough consistency.
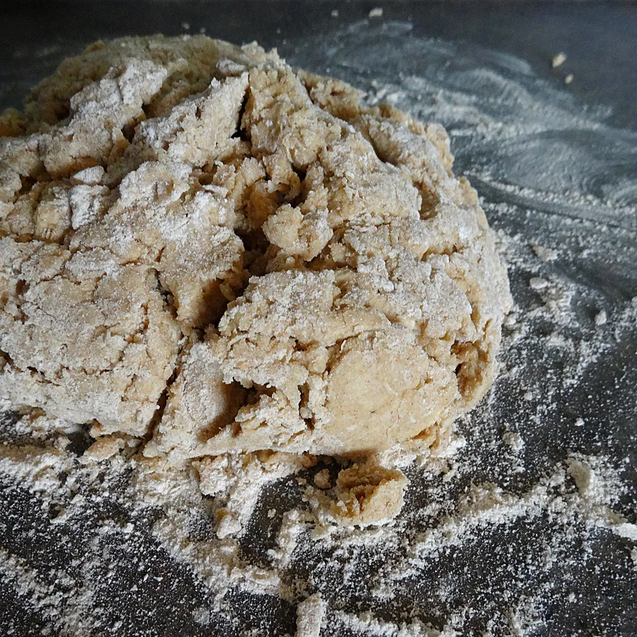
On a floured surface aka probably your kitchen counter, knead the dough.
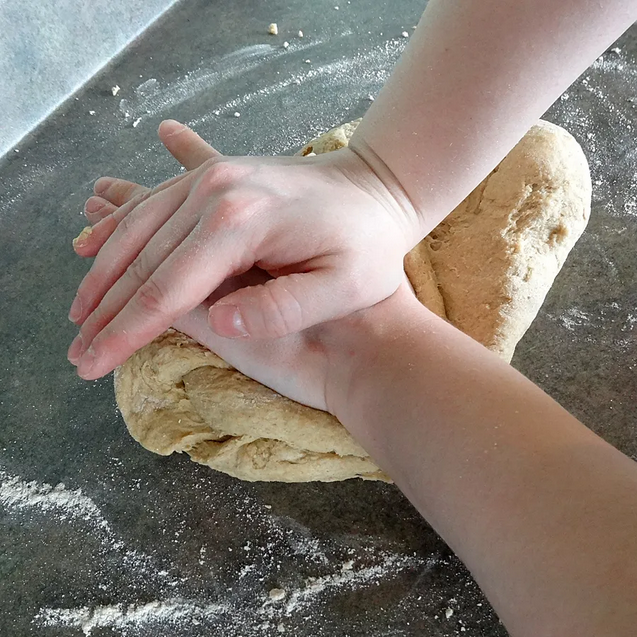
Keep on kneading until it’s not too sticky anymore and forms a nice ball. This shouldn’t take too long. Maybe 15-20 kneads depending on your knead? I don’t know, I didn’t count. Sorry, I didn’ t realize that I “kneaded” to give you a specific number… tee hee hee. Yeah, that was terrible. I apologize.
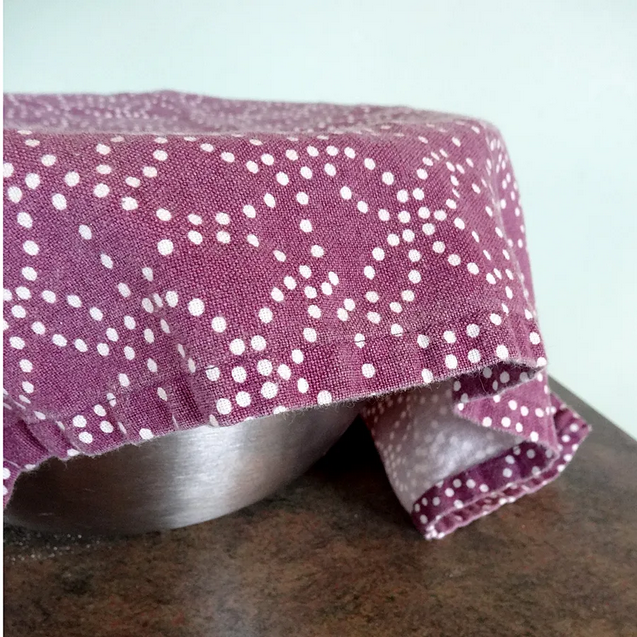
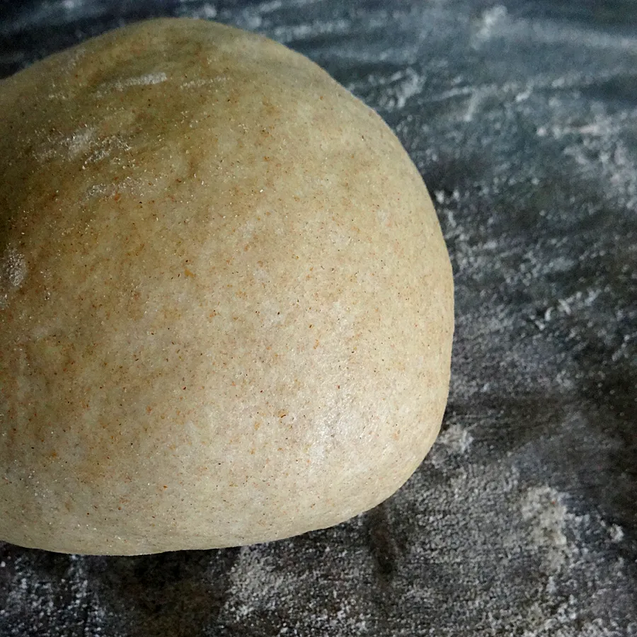
Pop that dough ball back in the bowl and cover with a clean cloth and let it rise for at least 15 mins.
After 15 minutes, it’s dough punching time.
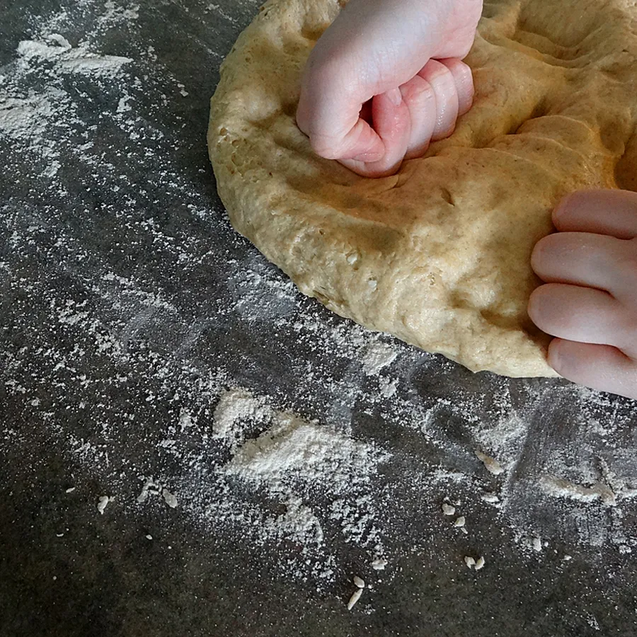
Knead it a bit more until it’s a beautiful ball of dough again
and then roll it out to a big rectangle.
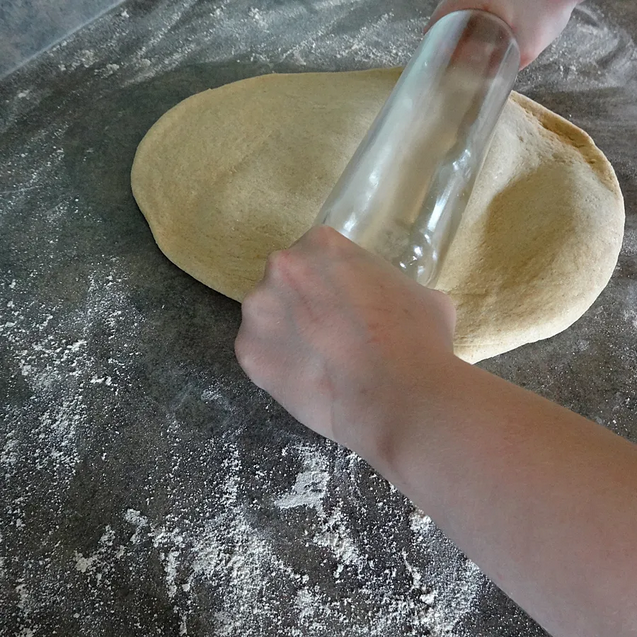
I rolled mine a little thinner than I probably should have, but that’s ok. Maybe aim for about ½ inch thickness when you roll it out, then let me know how they turn out. This just gives us an excuse to keep making cinnamon buns until we get the dough just right… right?
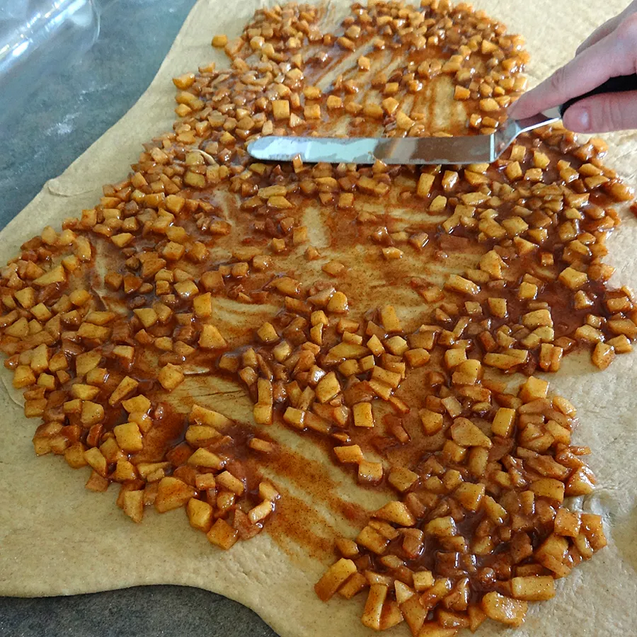
Next you’ll need to pour the filling onto the dough
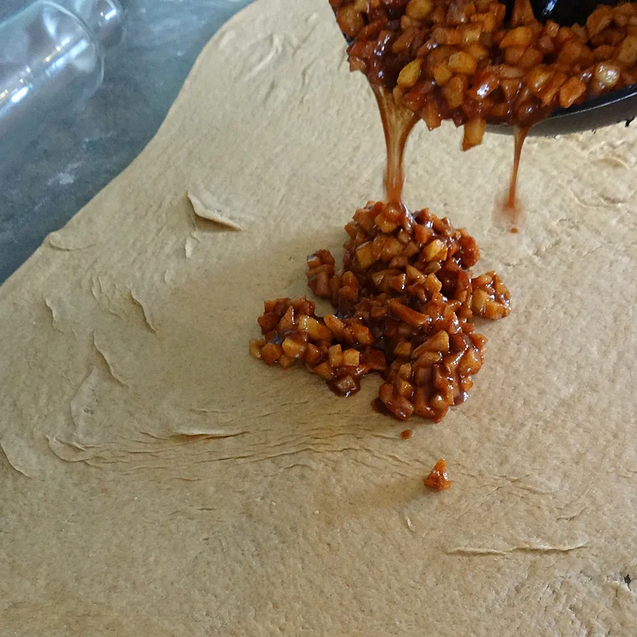
and spread it all over.
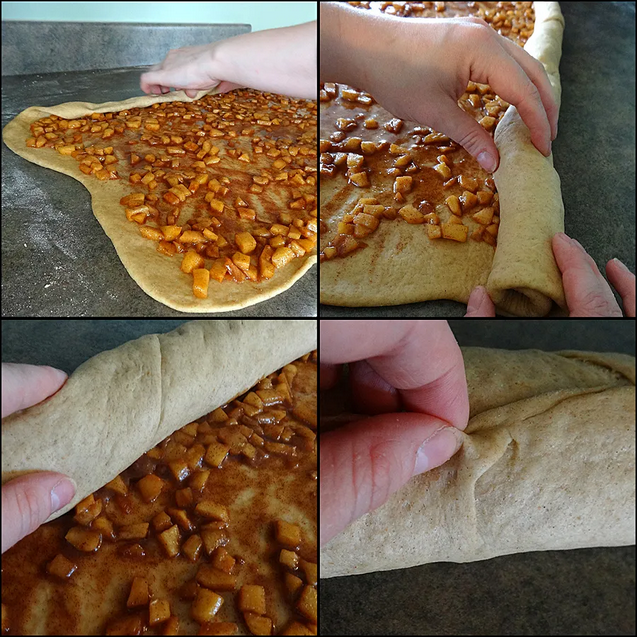
Then roll the dough up. Tightly. When you get to the end, pinch it closed.
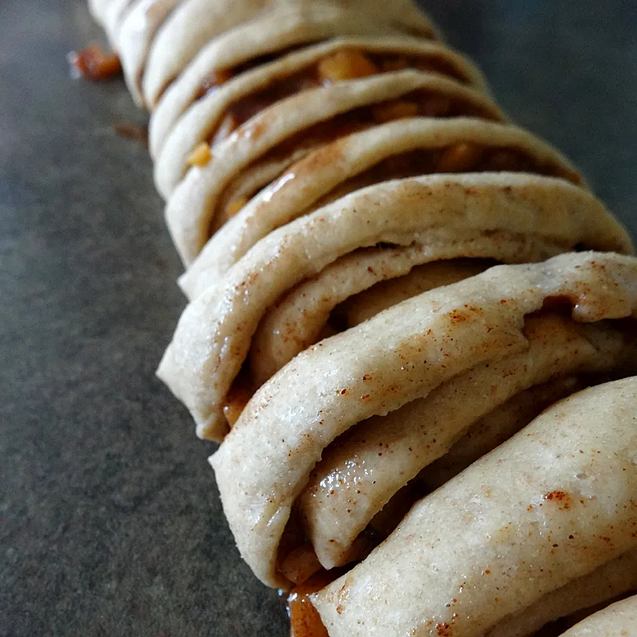
Then cut the roll into 1 inch discs.
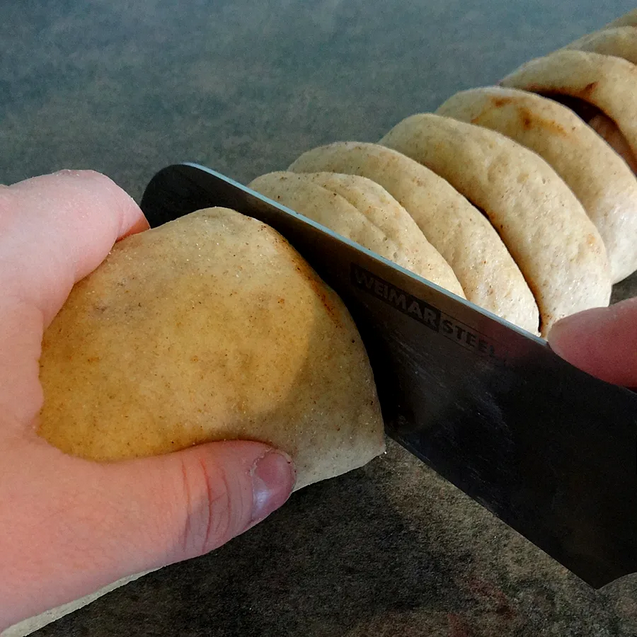
Mmmm… cinnamon bun discs.
Now take all the discs and line them up in greased pans. Cover them, and let them rise for another 15 minutes. You can preheat your oven to 400 degrees now. Bet you thought I forgot, didn’t you?
Once they rise, pop the pans in the oven and let them bake for 20 minutes, or until they are golden. While they’re baking, you can make the insanely delicious sea salt caramel icing.
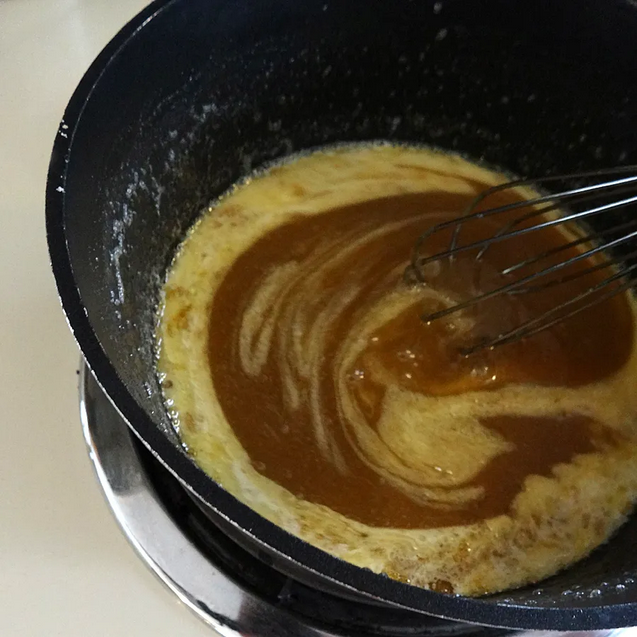
In a pan, heat up the brown sugar and butter
Once it’s melted add the sea salt, and stir.

Once it starts to bubble up, add the whipping cream… and stir.
Remove the pan from heat and start adding the icing sugar
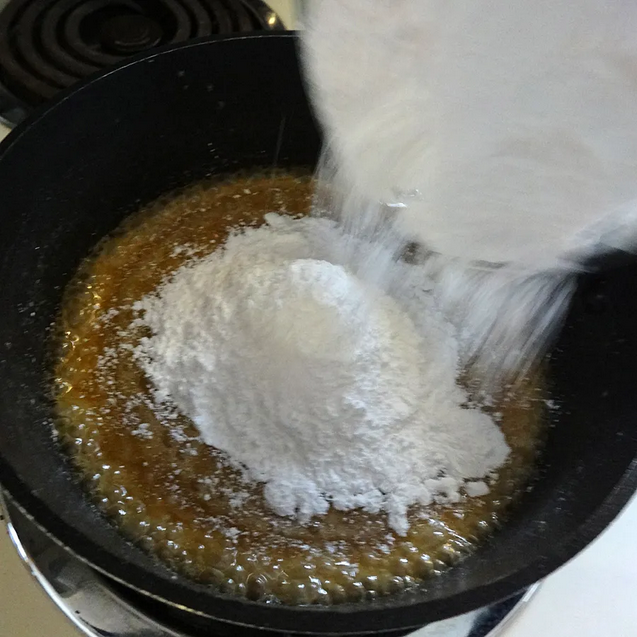
You can add anywhere between 2 – 4 cups depending on the consistency you want. I opted to add all 4 cups of icing sugar to make a nice thick icing,
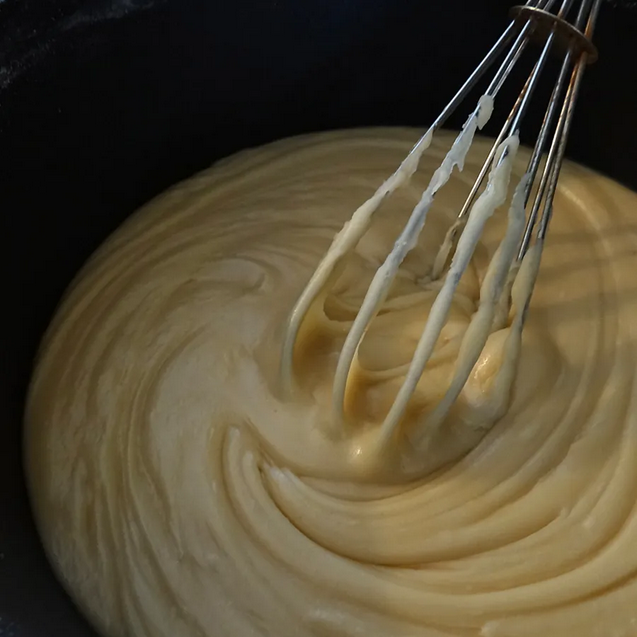
Although just looking at this picture is making me drool, I think that next time I’ll mix things up a little and try it as more of a glaze. To do that: just add less icing sugar. Genius.
Do you best to get the icing onto the cinnamon buns as soon as possible when they get out of the oven
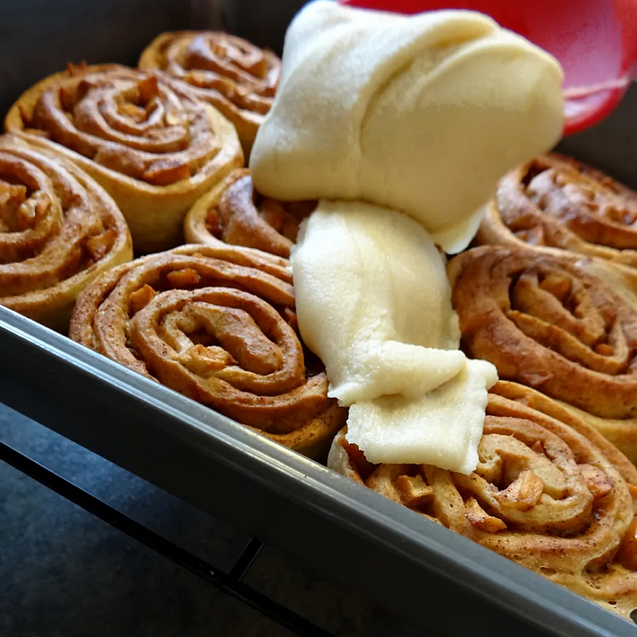
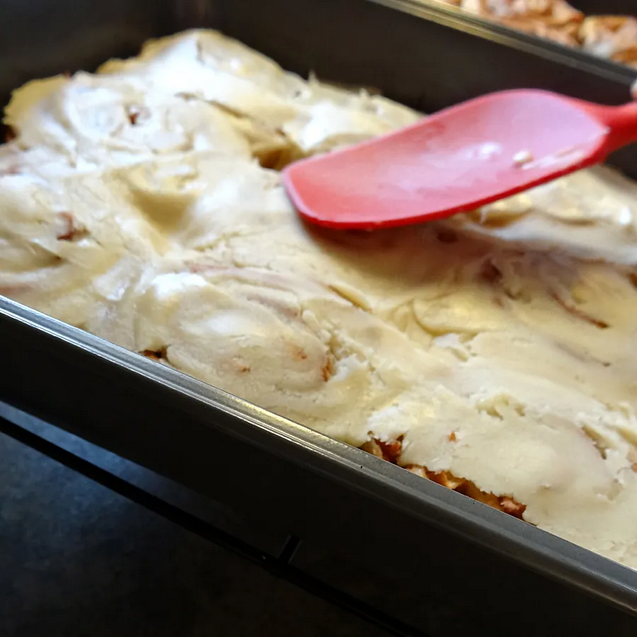
Yeah… just smooth that icing all up on those cinnamon buns.
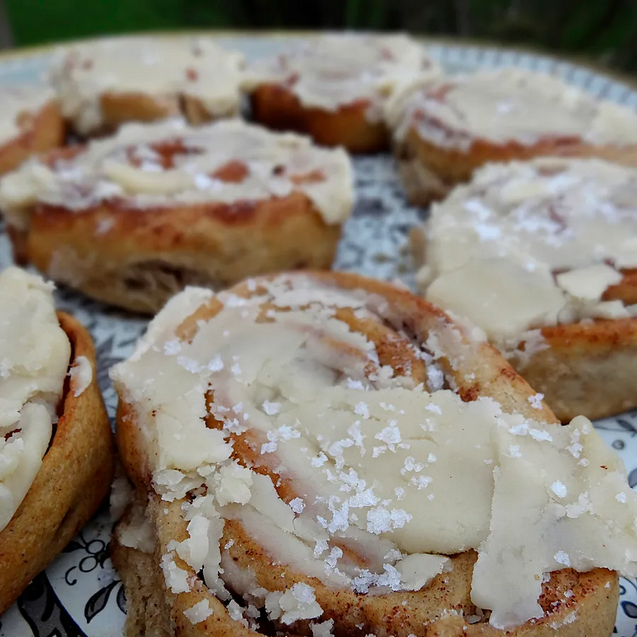
And now for the finishing touch: more sea salt!
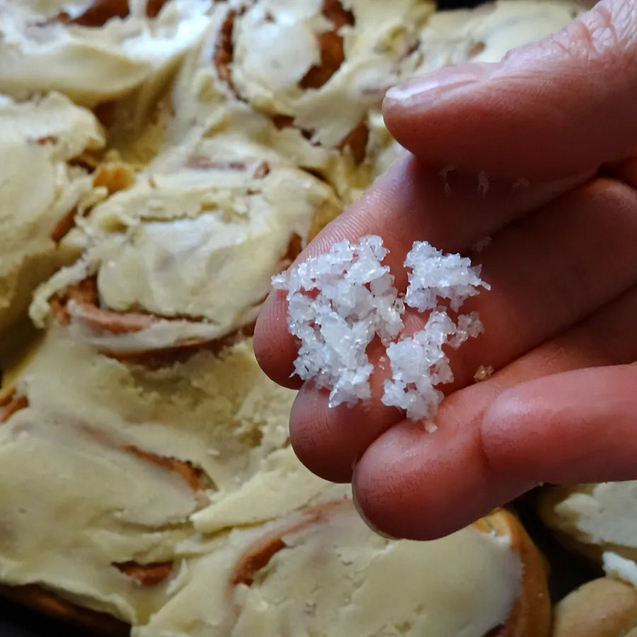
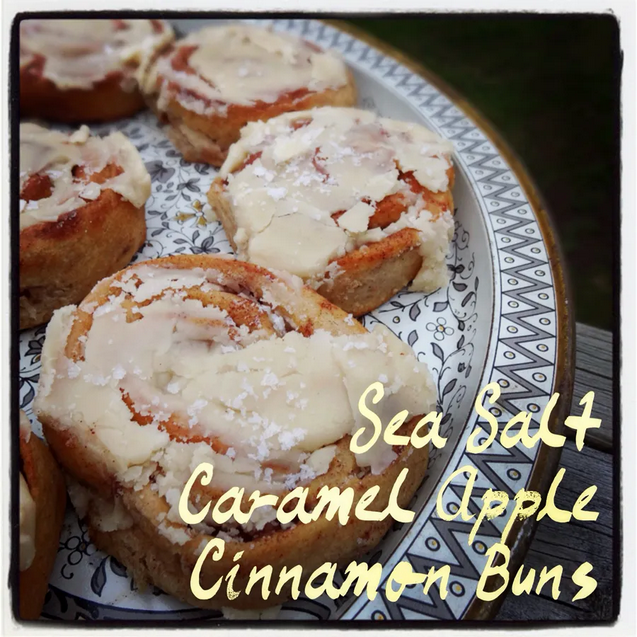
Sprinkle sea salt all over the iced cinnamon buns, and you’re all done.
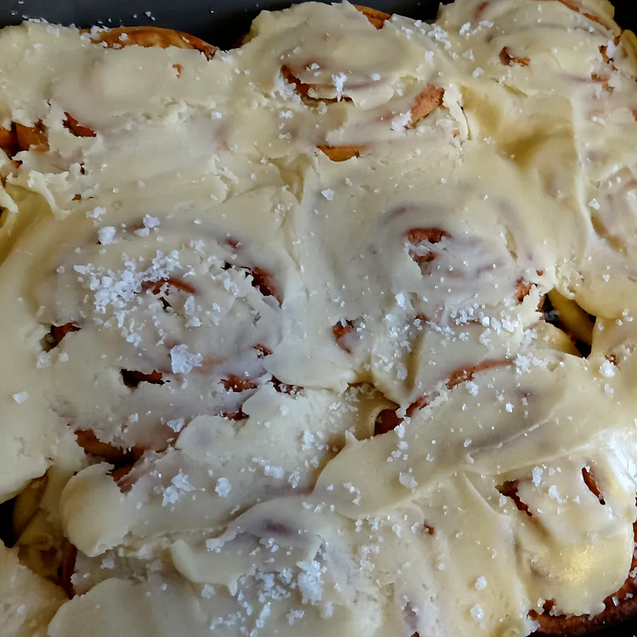
These beauties are best served warm, so if you don’t eat them right away I suggest heating them in the microwave for a couple seconds first.
Enjoy.

